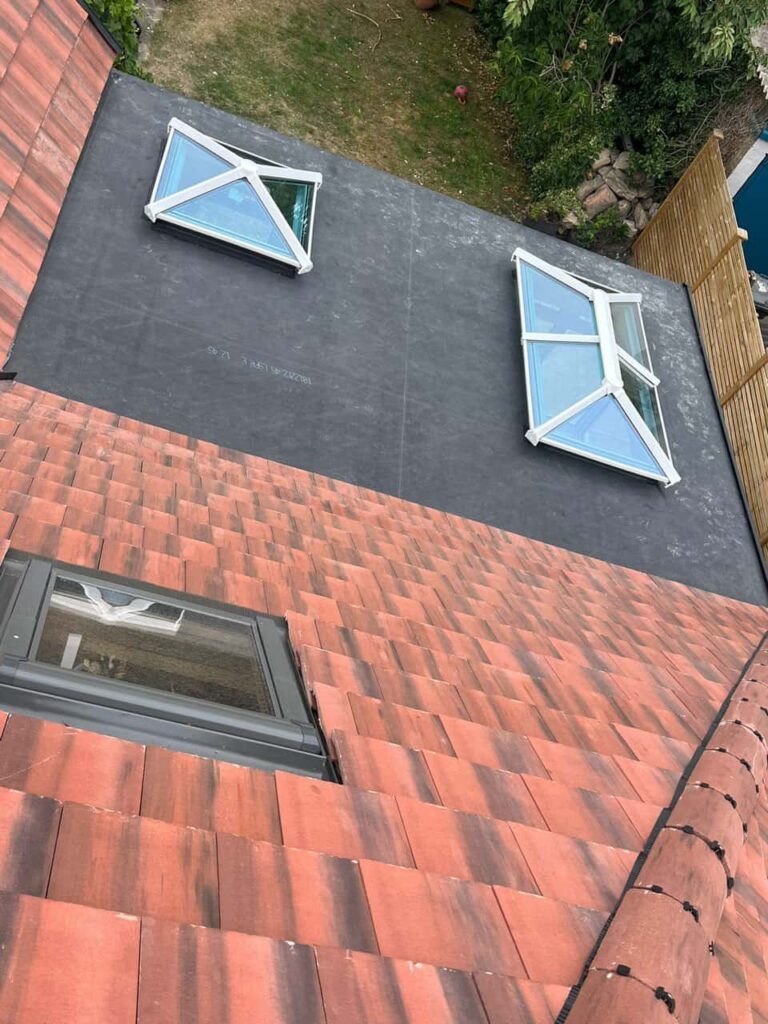
Introduction: A flat roof offers a sleek and modern aesthetic but requires careful maintenance to ensure it remains watertight and durable. One of the most critical aspects of maintaining a flat roof is ensuring that it is properly sealed. At Calverton Roofing Repairs, we understand the importance of a well-sealed roof and are here to guide you through the process. This blog post will explore the essential steps to properly seal your flat roof, ensuring longevity and protection against the elements.
Why Proper Sealing Is Crucial
Proper sealing is essential for several reasons:
- Prevent Water Infiltration: Effective sealing prevents water from seeping through the roof, which can cause leaks and structural damage.
- Extend Roof Lifespan: A well-sealed roof is less susceptible to damage from environmental factors such as UV rays and temperature fluctuations.
- Improve Energy Efficiency: A sealed roof helps maintain a stable indoor temperature, potentially reducing heating and cooling costs.
1. Assess the Current Condition
Why It Matters: Before you begin sealing your flat roof, it’s essential to assess its current condition to identify any areas of concern.
Steps to Follow:
- Inspect the Roof Surface: Look for signs of damage, such as cracks, blisters, or loose sections of the existing sealant.
- Check for Ponding Water: Areas where water tends to pool can be more prone to leaks and damage.
- Evaluate Drainage Systems: Ensure that gutters, downpipes, and drainage channels are clear and functioning properly.
Tip: Address any significant damage or repairs before applying a new sealant to ensure a smooth and effective application.
2. Choose the Right Sealant
Why It Matters: Different sealants offer various benefits and are suited to different types of roofing materials.
Popular Sealants:
- Bitumen-Based Sealants: Ideal for asphalt and bitumen-based flat roofs. They are durable and provide excellent waterproofing.
- Polyurethane Sealants are suitable for a variety of roofing materials, including metal and felt. They offer flexibility and resistance to UV rays.
- Acrylic Sealants are known for their ease of application and good adhesion to various surfaces. They are suitable for low-traffic areas.
Tip: Always select a sealant that is compatible with your roofing material and the specific conditions of your roof.
3. Prepare the Roof Surface
Why It Matters: Proper preparation ensures the sealant adheres effectively and provides a strong, long-lasting bond.
Steps to Follow:
- Clean the Surface: Remove all dirt, debris, and loose material from the roof surface. Use a broom, vacuum, or pressure washer as needed.
- Repair Damaged Areas: Use appropriate repair materials to patch up any cracks, holes, or damaged sections. Ensure these repairs are fully dry before proceeding.
- Ensure Dry Conditions: Apply sealant only when the roof is dry to ensure proper adhesion.
Tip: Avoid applying sealant in extreme temperatures or rainy conditions, which can affect curing.
4. Apply the Sealant
Why It Matters: Correct application ensures complete coverage and effective sealing.
Steps to Follow:
- Read Manufacturer Instructions: Follow the specific instructions the sealant manufacturer provides for the best results.
- Apply Evenly: Use a brush, roller, or trowel to apply the sealant evenly across the roof surface. Ensure that all joints, seams, and edges are thoroughly covered.
- Use a Primer if Required: Some sealants may require a primer for better adhesion. Check the manufacturer’s guidelines to see if this step is necessary.
Tip: Apply sealant in manageable sections to ensure a uniform finish and avoid overlapping or missing areas.
5. Allow for Proper Curing
Why It Matters: Curing time is essential for the sealant’s effectiveness and durability.
Steps to Follow:
- Allow Curing Time: Follow the manufacturer’s recommended curing time, which can vary depending on the type of sealant and environmental conditions.
- Avoid Foot Traffic: Minimise foot traffic on the roof during the curing period to prevent disturbances to the sealant.
Tip: Monitor weather conditions and ensure the roof is not exposed to rain or extreme temperatures during the curing period.
6. Regular Maintenance and Inspections
Why It Matters: Ongoing maintenance ensures that your flat roof remains sealed and performs well over time.
Steps to Follow:
- Inspect Regularly: Conduct regular inspections to check for any signs of wear, damage, or deterioration.
- Clean and Maintain: Keep the roof clean and clear of debris and address any issues promptly to prevent further damage.
- Reapply Sealant as Needed: Depending on the sealant used and the roof’s condition, you may need to reapply the sealant periodically.
Tip: Schedule professional inspections if you’re unsure about the condition of your sealant or roof.
Conclusion: Properly sealing your flat roof is crucial in maintaining its integrity and longevity. By following these guidelines, you can ensure that your roof remains watertight, durable, and energy-efficient.
Call us on: 0115 647 1193
Click here to find out more about Calverton Roofing Repairs
Click here to complete our contact form and see how we can help you with your roofing needs.

